Easy Crochet Mitten Pattern: Beginner Step-by-Step Guide
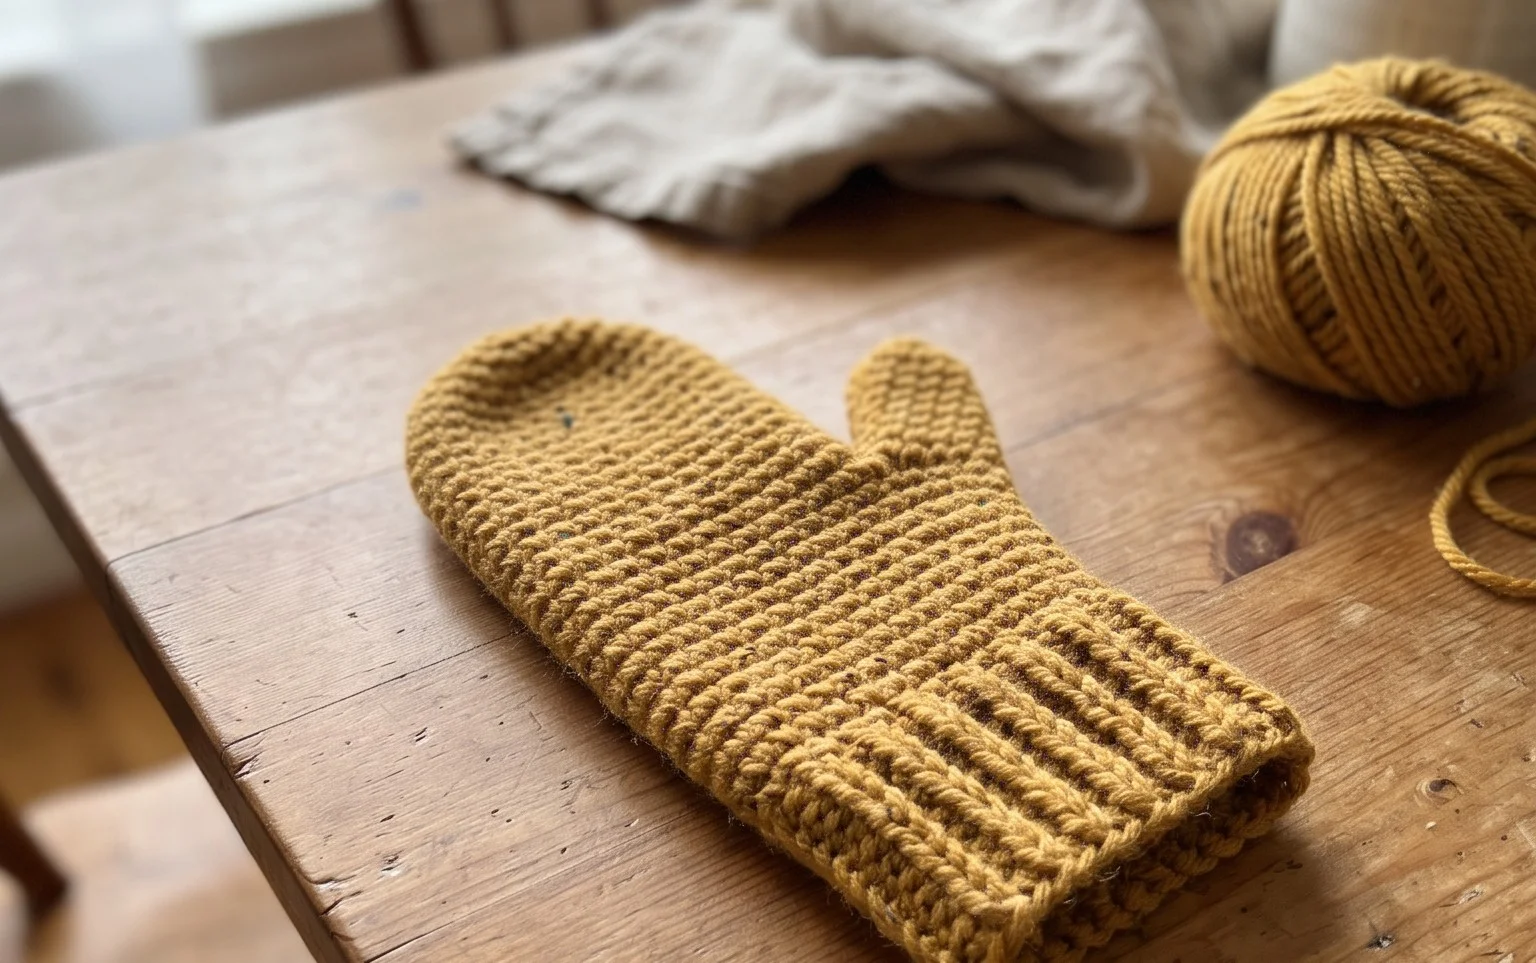
These soft wool mittens feel like a warm hug on a freezing morning and provide a quick way to practice shaping your work. They have a snug ribbed cuff that keeps the cold air out while the body offers enough room for your fingers to move comfortably. You will love how fast these come together using basic half double crochet stitches, which create a dense fabric without feeling stiff or heavy. This project suits anyone who wants to learn how to transition from flat panels to three-dimensional shapes. I guide you through every increase and decrease to ensure your finished pair fits snugly on your hands.
Why You’ll Love This Pattern
This crochet strawberry keychain project uses a simple continuous-round construction, making it an ideal choice for using up small amounts of leftover cotton yarn. Because the pattern relies on basic single crochet increases and decreases, it provides a rhythmic, meditative process that works up in under an hour. The compact size makes it a durable accessory for backpacks or keys, and the structure is firm enough to maintain its shape without needing complex internal support.
I managed to whip up three of these in a single afternoon using scraps from my stash. The instructions are very easy to follow and the finished berries look professional enough to give as teacher gifts.
— Sarah, beginner crocheter
Pattern Overview & Skill Level
- Skill Level: Beginner
- Approximate Time: 45 minutes
- Construction: Amigurumi-style continuous rounds worked from the bottom up
- Finished Dimensions: Approximately 2 inches tall (excluding leaf topper)
Materials & Supplies Needed
- Yarn: Worsted weight (#4) cotton yarn in red and green, approximately 10 yards total. Cotton is preferred for its stitch definition and durability in high-touch items.
- Hook Size: 3.5 mm / E-4. This hook size is smaller than typical for worsted weight to ensure a tight fabric that prevents stuffing from showing through.
- Notions: Fiberfill stuffing, tapestry needle for weaving ends, stitch marker to track round starts, and a metal keychain ring.
- Yarn Substitutions: Acrylic yarn can be used, though it will produce a slightly softer, fuzzier berry that may lose its shape over time compared to the structured look of mercerized cotton.
Stitch Guide & Abbreviations (US Terms)
- ch: Chain
- st/sts: Stitch/stitches
- sc: Single crochet
- inc: 2 sc in the same stitch
- dec: Single crochet two stitches together (invisible decrease recommended by inserting hook into the front loops only of the next two stitches)
- MR: Magic ring
- sl st: Slip stitch
Step-by-Step Pattern Instructions
Strawberry Body
- Rnd 1: Start with red yarn in a MR, 6 sc in ring. (6 sts)
- Rnd 2: Inc in each st around. (12 sts)
- Rnd 3: [1 sc, inc] 6 times. (18 sts)
- Rnd 4-7: Sc in each st around. (18 sts)
- Rnd 8: [1 sc, dec] 6 times. (12 sts). Begin adding fiberfill stuffing firmly.
- Rnd 9: Dec 6 times. (6 sts)
Leaf Topper
- Rnd 1: Using green yarn, make a MR, 5 sc in ring. Join with a sl st to the first sc.
- Rnd 2: [Ch 3, sl st in second ch from hook, 1 sc in next ch, sl st in next stitch of the ring] 5 times to create small leaf points.
- Fasten off, leaving a 6-inch tail for sewing.
Assembly
Thread the green leaf topper onto the tapestry needle. Center the topper over the remaining hole of the strawberry body. Sew the leaves down securely through the remaining 6 stitches of the body. Before closing the final loop, insert the metal keychain ring through the center of the leaves. Weave all remaining ends into the body of the strawberry to hide them.
Care & Washing Instructions
- Hand wash in cool water with a mild detergent to prevent the internal stuffing from clumping.
- Gently squeeze out excess water using a towel rather than wringing the item, which can distort the stitch shape.
- Reshape the strawberry while damp and lay flat on a clean surface to air dry completely.
Pro Tips & Common Mistakes to Avoid
- Maintain consistent tension throughout the rounds; if you notice gaps between stitches where the stuffing is visible, drop down a half-size in hook diameter.
- Always place a stitch marker in the first stitch of every round to avoid losing count, especially during the decrease rounds.
- Weave your yarn ends into the center of the strawberry body rather than across the surface to keep the exterior texture smooth and uniform.
- Adjusting the size by adding or subtracting rounds of plain single crochet will change the height, but remember that increasing the round count will require more fiberfill to keep the shape firm.
Frequently Asked Questions
Can I use a different yarn weight for this pattern?
Yes, you can use DK or bulky weight yarn, but you must adjust your hook size accordingly to maintain a dense fabric so the stuffing does not peek through the gaps. Using thinner yarn will result in a smaller strawberry, while thicker yarn will produce a larger one.
Is this project suitable for someone who has never crocheted before?
This is a great beginner project because it only requires basic stitches and working in rounds. The most important skill to practice is keeping your tension tight so the stuffing remains contained inside the fruit.
Can I sell the items I make from this pattern?
Please check the individual license provided with the pattern source. Generally, most designers allow the sale of finished items on a small scale, but you should credit the designer and use your own original photographs of the work.
How do I prevent the keychain from pulling out of the leaf topper?
When sewing the leaf topper to the strawberry, ensure you catch the base of the keychain ring in multiple stitches. Passing your needle through the ring at least three times creates a secure anchor that prevents the metal from wearing through the yarn over time.
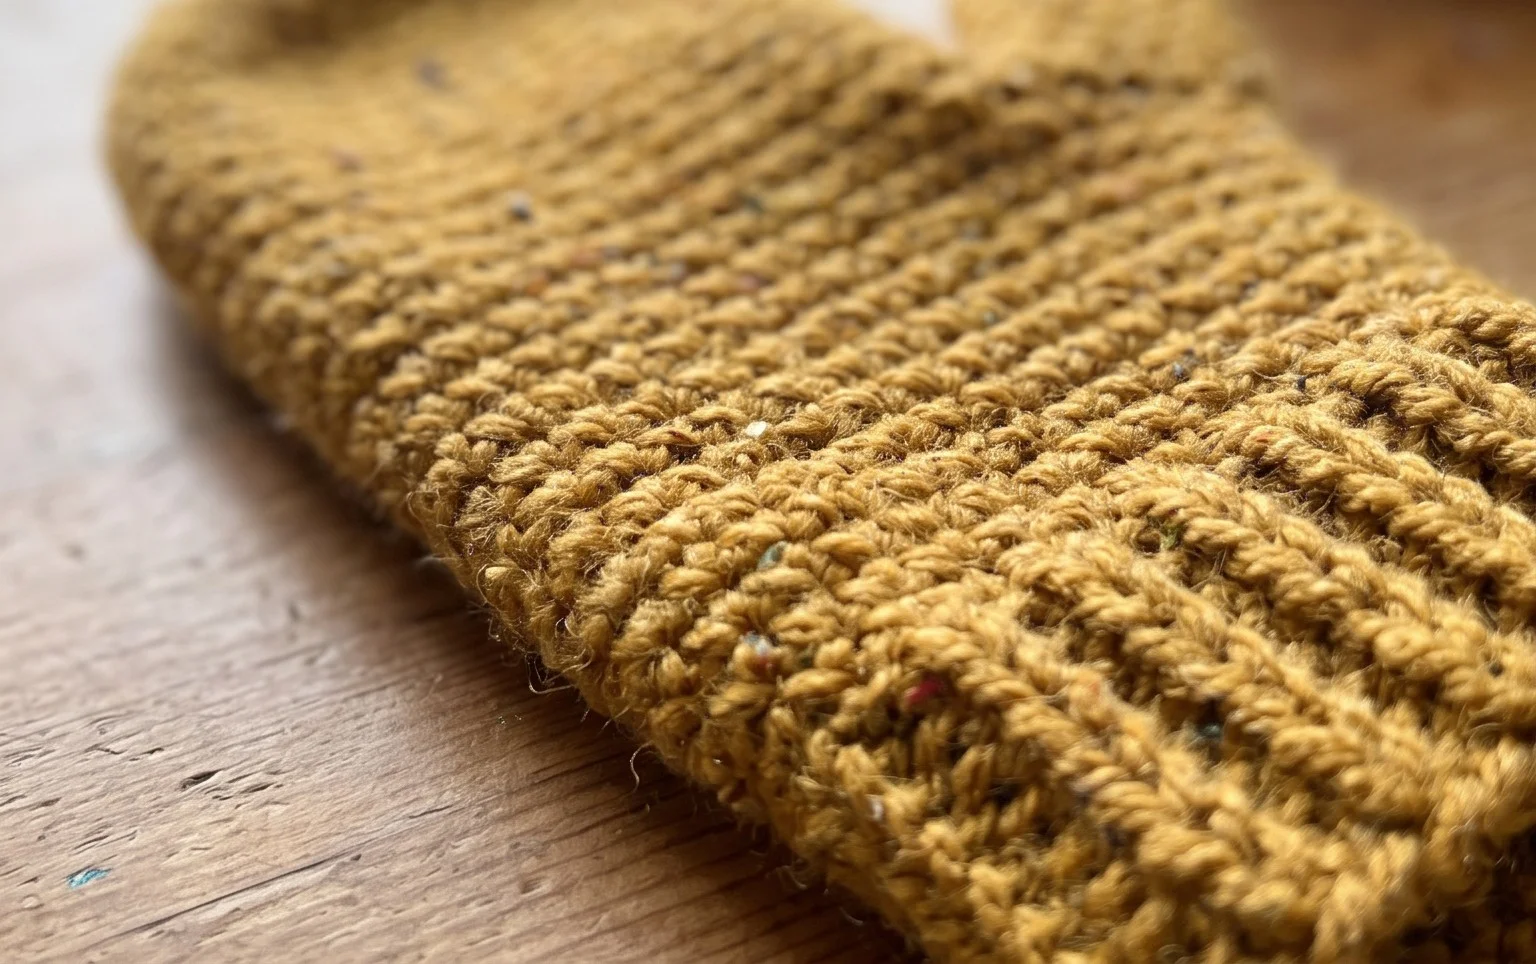
Your new handmade mittens keep hands cozy and provide a satisfying sense of accomplishment after a few hours of work. Try making them in a variegated yarn if you want a playful look, or stick to a solid neutral shade for a classic winter wardrobe staple. Sharing a photo of your finished work on social media helps others find inspiration for their own yarn stash projects. You can browse more free winter accessory patterns on the blog whenever you feel ready for your next cozy afternoon making session.