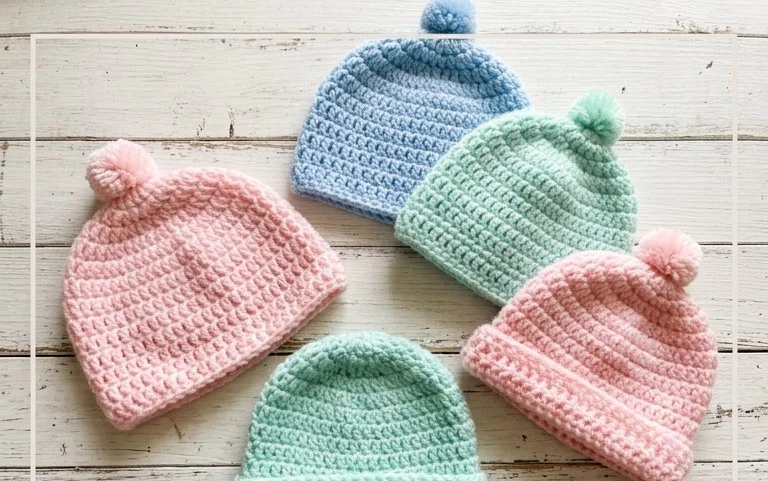
Easy Granny Square Crochet Pattern: Step-by-Step Tutorial

A warm, hand-stitched blanket begins with the humble granny square, a piece that feels substantial in your hands and brings a sense of accomplishment to your afternoon. This project suits anyone building their skills or stocking up on handmade gifts, as the soft acrylic blend drapes beautifully and holds its shape after every wash. You will learn the precise method for maintaining tension across three-double crochet clusters, which ensures your edges stay straight and your finished squares lie flat. It is a quiet, meditative process that turns a small pile of leftover yarn into a functional textile.
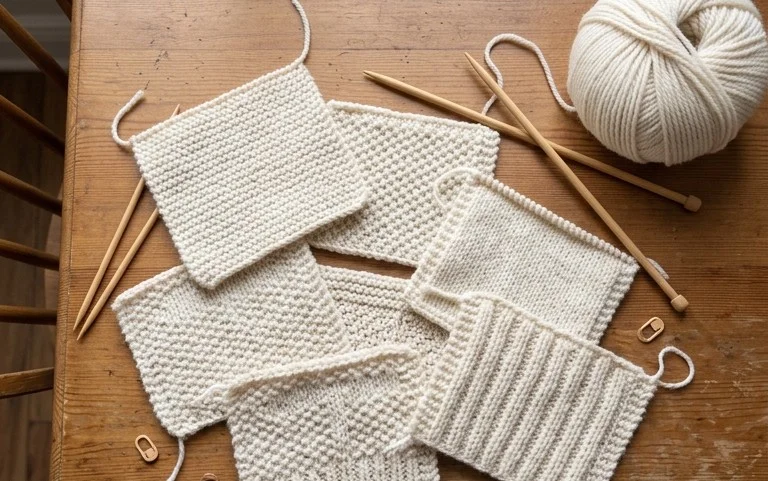
KNITTING COURSE—>” class=”wp-image” /></p><div class='hb-ad-inpage'><div class='hb-ad-inner'><div class='hbagency_cls hbagency_space_346993' id='hbagency_space_346993_1'></div></div></div>
<h2>Why You’ll Love This Pattern</h2>
<p>The Classic Crochet Granny Square is the fundamental building block for countless textile projects. This pattern uses a traditional three-double crochet cluster technique that creates a balanced, square shape without the curling often found in simpler designs. Because each round builds directly upon the previous one, the rhythmic nature of the stitches makes this an ideal project for practicing consistent tension while listening to a podcast or watching television. You can easily complete a single square in about twenty minutes, making it a highly productive way to use up leftover yarn from larger projects.</p><div class='hb-ad-inarticle'><div class='hb-ad-inner'><div class='hbagency_cls' id='hbagency_space_346995'></div></div></div>
<blockquote>
<p>I finally mastered the center join after struggling for months. This pattern is so clear and the final square lays perfectly flat every time I make one.</p><div class='hb-ad-inpage'><div class='hb-ad-inner'><div class='hbagency_cls hbagency_space_346993' id='hbagency_space_346993_2'></div></div></div>
<p><cite>— Sarah, beginner crocheter</cite></p></blockquote>
<h2>Pattern Overview & Skill Level</h2>
<ul>
<li>Skill Level: Beginner</li>
<li>Approximate Time: 20 minutes per square</li>
<li>Construction: Worked in joined rounds, starting from the center and moving outward</li>
<li>Finished Dimensions: Approximately 5 inches by 5 inches using medium weight yarn and a 5.0 mm hook</li>
</ul>
<h2>Materials & Supplies Needed</h2>
<ul>
<li>Yarn: Worsted weight (#4) acrylic or cotton blend, approximately 15-20 yards per square.</li>
<li>Hook Size: 5.0 mm (H-8).</li>
<li>Notions: Yarn needle for weaving in ends, scissors, and a measuring tape to ensure size consistency.</li>
<li>Safe yarn substitutions: You can use DK weight yarn with a 4.0 mm hook for a smaller, tighter square, or bulky weight yarn with a 6.0 mm hook for a larger, more textured square. Note that changing the weight will significantly alter the final dimensions and drape.</li>
</ul>
<h2>Stitch Guide & Abbreviations (US Terms)</h2>
<ul>
<li>ch = chain</li>
<li>sl st = slip stitch</li>
<li>dc = double crochet</li>
<li>cluster = a group of 3 dc stitches worked into the same space</li>
<li>sp = space</li>
<li>rnd = round</li>
</ul>
<h2>Step-by-Step Pattern Instructions</h2>
<h3>Center and Base</h3>
<ol>
<li><strong>Rnd 1:</strong> Ch 4, join with a sl st to the first ch to form a ring. Ch 3 (counts as first dc), work 2 dc into the ring, ch 2, <em>3 dc into the ring, ch 2</em> — repeat from * to * two more times. Join with a sl st to the top of the beginning ch-3. (12 dc, 4 ch-2 spaces)</li>
</ol>
<h3>Expanding the Square</h3>
<ol>
<li><strong>Rnd 2:</strong> Sl st into the next 2 stitches and into the first ch-2 space. Ch 3, 2 dc in same space, ch 2, 3 dc in same space (first corner made). <em>Ch 1, skip 3 dc, in the next ch-2 space work (3 dc, ch 2, 3 dc)</em> — repeat from * to * two more times. Ch 1, join with a sl st to the top of the beginning ch-3. (24 dc, 4 ch-1 spaces, 4 ch-2 corner spaces)</li>
<li><strong>Rnd 3:</strong> Sl st into the next 2 stitches and into the corner ch-2 space. Ch 3, 2 dc in same space, ch 2, 3 dc in same space. <em>Ch 1, work 3 dc in the next ch-1 space, ch 1, work (3 dc, ch 2, 3 dc) in the next corner ch-2 space</em> — repeat from * to * two more times. Ch 1, work 3 dc in the last ch-1 space, ch 1, join with a sl st to the top of the beginning ch-3. (36 dc, 8 ch-1 spaces, 4 ch-2 corner spaces)</li>
<li><strong>Finishing:</strong> Fasten off yarn leaving a 6-inch tail. Pull the tail through the final loop and pull tight to secure. Use a yarn needle to weave the end through the back of the stitches to prevent unraveling.</li>
</ol>
<h2>Care & Washing Instructions</h2>
<ul>
<li>Machine wash your finished squares on a gentle cycle in cool water with mild detergent.</li>
<li>Lay the squares flat on a clean towel to air dry, reshaping them gently while damp.</li>
<li>Avoid using a tumble dryer, as high heat can damage acrylic fibers and cause cotton to shrink.</li>
</ul>
<h2>Pro Tips & Common Mistakes to Avoid</h2>
<ul>
<li>Keep your tension even by ensuring that your chain-3 at the start of each round is not too loose, which prevents a visible gap at the seam.</li>
<li>Use a stitch marker in the first stitch of every round to easily identify where to join, as the corners can sometimes look similar to the cluster stitches.</li>
<li>Weave your ends in by moving the needle in a zig-zag pattern through the back loops of the stitches, ensuring the tail is secure before trimming.</li>
<li>Adjust the size of the square by simply adding more rounds following the pattern established in Round 3, though remember that each additional round will require significantly more yarn.</li>
</ul>
<h2>Frequently Asked Questions</h2>
<details>
<summary>Can I use different types of yarn in one blanket?</summary>
<p>Yes, but ensure all yarns are the same weight (e.g., all worsted weight). Mixing fiber types like wool and acrylic may cause the blanket to react differently when washed.</p><div class='hb-ad-inpage'><div class='hb-ad-inner'><div class='hbagency_cls hbagency_space_346993' id='hbagency_space_346993_3'></div></div></div>
</details>
<details>
<summary>Why is my square curling up like a bowl?</summary>
<p>Curling usually happens if your tension is too tight. Try loosening your stitches or going up one hook size to allow the square to lay flat.</p>
</details>
<details>
<summary>How do I join these squares together?</summary>
<p>The most common methods are the single crochet join, which creates a visible ridge, or the flat slip stitch join, which creates a nearly invisible seam.</p><div class='hb-ad-inpage'><div class='hb-ad-inner'><div class='hbagency_cls hbagency_space_346993' id='hbagency_space_346993_4'></div></div></div>
</details>
<details>
<summary>Can I sell items made from this pattern?</summary>
<p>You are welcome to sell finished items made from this pattern. Please provide credit to the designer and use your own original photographs for your listings.</p>
</details>
<p><img decoding= { "@context": "https://schema.org", "@type": "HowTo", "name": "KNITTING COURSE—>", "description": "A comprehensive guide featuring 12 classic, beginner-friendly knitting stitch patterns perfect for creating practice swatches, dishcloths, or scarves.", "image": "https://crochetdaybook.com/wp-content/uploads/2026/10/flow_273970_0164e2e6_top.webp" }
Similar Posts

Leave a Reply

Your email address will not be published. Required fields are marked *