Easy Granny Stripe Poncho Crochet Free Pattern Tutorial
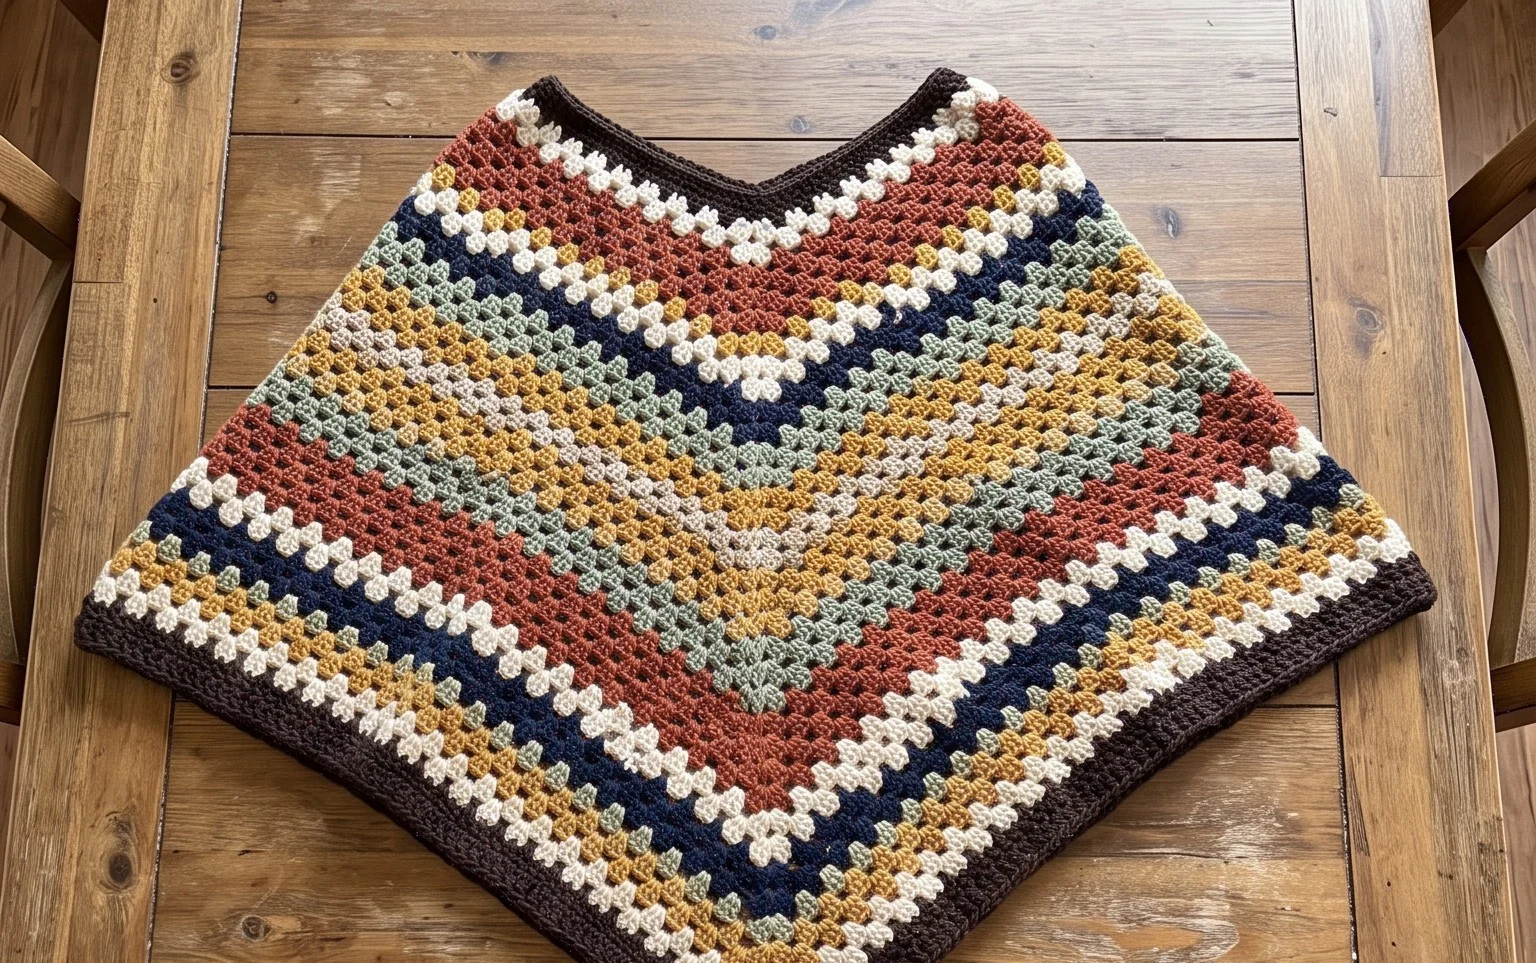
Soft yarn drapes over your shoulders with a cozy, lightweight texture that feels like a warm hug during chilly mornings. This simple poncho project works well for beginners who want to move beyond basic squares and create wearable items. You learn to connect rows using the classic stripe technique, which gives the fabric a relaxed, vintage look. Whether you have half-used skeins cluttering your craft basket or prefer choosing a new color palette, this piece offers a quick way to practice stitch tension. It becomes a versatile addition to any wardrobe, serving as a layer for cool evenings or home lounging.
Why This Project Is Worth Making
The Classic Crochet Granny Square is the fundamental building block of crochet heritage. It works up quickly using simple double crochet clusters, making it an ideal project for practicing consistent tension. Because it uses small amounts of yarn, you can easily use up leftovers from previous projects to create a multicolored stash-buster piece. The repetitive nature of the rounds provides a rhythmic, meditative experience that is perfect for winding down after a busy day.
I started this pattern as a complete beginner and finished my first square in under an hour. The instructions are very clear and helped me understand how to join rounds correctly.
— Sarah, hobbyist crafter
Pattern Overview & Skill Level
- Skill Level: Beginner
- Approximate Time: 45 to 60 minutes per square
- Construction: Worked in joined rounds, starting from the center and expanding outward
- Finished Dimensions: Approximately 6 inches by 6 inches using medium weight yarn
Materials & Supplies Needed
- Yarn: Worsted weight (#4) acrylic or cotton blend, approximately 20 yards per square.
- Hook Size: 5.0 mm (US H-8) crochet hook.
- Notions: Tapestry needle for weaving in ends, scissors, and optional stitch markers.
- Yarn Substitutions: You can use DK weight yarn for a smaller, more delicate square, though you may need to add extra rounds to reach a specific size. Using a bulkier yarn will result in a larger, thicker square, requiring a larger hook size to maintain drape.
Stitch Guide & Abbreviations (US Terms)
- ch: chain
- st/sts: stitch/stitches
- sl st: slip stitch
- dc: double crochet
- dc-cluster: a group of 3 dc worked into the same space
- sp: space
- MR: magic ring (or alternatively, ch 4 and join with a sl st to form a ring)
Step-by-Step Pattern Instructions
Center and Foundation
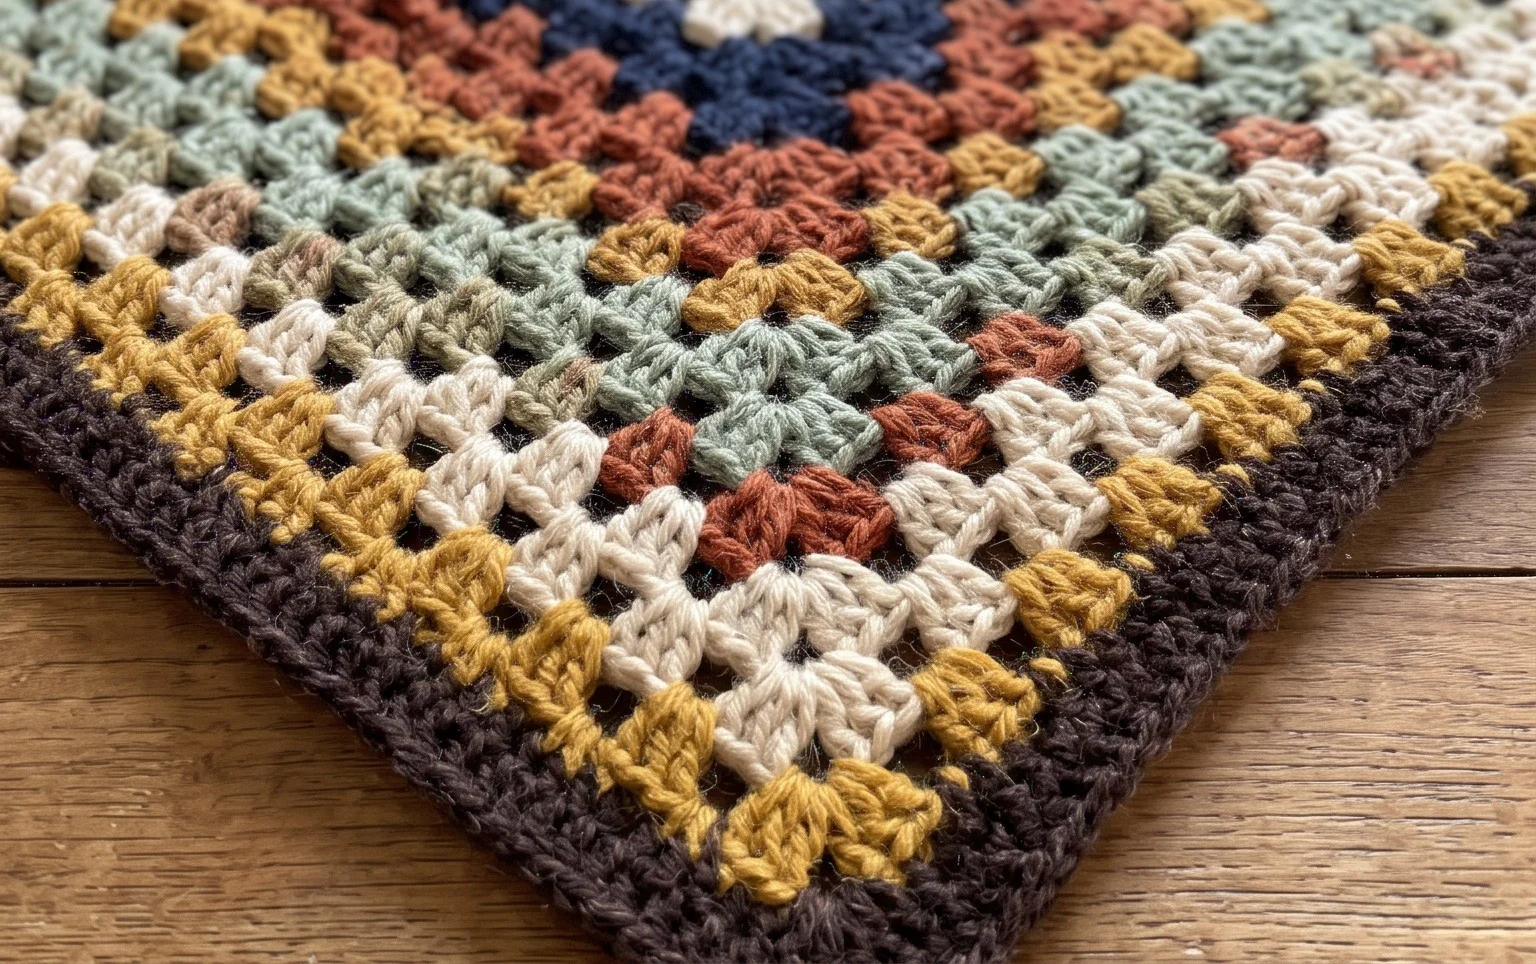
- Rnd 1: Start with a MR. Ch 3 (counts as first dc throughout). Work 2 dc into the ring. Ch 2, *3 dc into ring, ch 2; repeat from * two more times. Join with a sl st to the top of the beginning ch-3. (12 dc, 4 ch-2 spaces)
Expanding the Square
- Rnd 2: Sl st into the next dc and into the first ch-2 corner sp. Ch 3, 2 dc, ch 2, 3 dc all in the same corner sp. *Ch 1, (3 dc, ch 2, 3 dc) in the next ch-2 corner sp; repeat from * around. Ch 1, join with a sl st to the top of the beginning ch-3. (24 dc, 4 corner spaces, 4 side spaces)
- Rnd 3: Sl st into the next dc and into the next ch-2 corner sp. Ch 3, 2 dc, ch 2, 3 dc in the corner sp. *Ch 1, 3 dc in the next ch-1 side sp, ch 1, (3 dc, ch 2, 3 dc) in the next corner sp; repeat from * around. Ch 1, 3 dc in the last ch-1 sp, ch 1, join with a sl st to the top of the beginning ch-3. (36 dc, 4 corner spaces, 8 side spaces)
- Rnd 4: Continue in the same pattern as Rnd 3. In each corner sp, work (3 dc, ch 2, 3 dc). In every ch-1 side sp, work 3 dc. Separate all clusters with ch 1. Join each round with a sl st to the top of the beginning ch-3. (48 dc, 4 corner spaces, 12 side spaces)
Finishing
Once you reach the desired size, fasten off your yarn, leaving a 6-inch tail. Use your tapestry needle to weave the tail through the back of the stitches to secure it. If you are joining multiple squares, leave longer tails for sewing them together.
Care & Washing Instructions
- Hand wash your finished square in cool water using a mild wool-safe detergent to preserve the fiber structure.
- Lay the square flat on a clean towel and reshape it to your desired dimensions while damp to ensure it dries symmetrically.
- Avoid using a tumble dryer, as high heat can shrink acrylic fibers or cause natural fibers to lose their shape.
Pro Tips & Common Mistakes to Avoid
- Tension Consistency: Maintain even tension throughout each double crochet to ensure your square does not ripple or cup. If the square curls, your tension may be too tight; if it ruffles, it may be too loose.
- Starting the Round: Place a stitch marker in the top of your beginning ch-3 so you can easily identify where to join your slip stitch at the end of every round.
- Invisible Ends: Weave your yarn ends in opposite directions to prevent them from slipping out over time with regular use or washing.
- Size Adjustments: You can continue adding rounds indefinitely to make a larger blanket. Note that each additional round will require more yarn than the previous one because the square grows in surface area.
Frequently Asked Questions
Can I use a different weight of yarn for this pattern?
Yes, you can use any yarn weight as long as you match it with an appropriately sized hook. A thinner yarn will result in a smaller square, while a thicker yarn will make a larger, denser one.
Is this pattern suitable for someone who has never held a crochet hook?
This pattern is beginner-friendly, but if you have never crocheted before, practice the basic double crochet stitch and the chain stitch individually before attempting to join them into rounds.
Can I sell the blankets I make from these squares?
Check the original designer’s specific terms of use. Generally, handmade items are acceptable for small-scale sale, but you must use your own photographs to market your finished work.
How do I keep my squares from twisting while I work?
Ensure that you are always working into the correct stitch or space. If you find your square turning, double-check that you are consistently working your corners into the ch-2 spaces and your side clusters into the ch-1 spaces.
Watching the rows accumulate into a wearable garment provides a great sense of accomplishment for any maker. You might consider working this pattern in a single solid color to emphasize the clean texture of the stitches or adding a fringe along the bottom edge for extra movement. Sharing your finished piece on social media helps others find inspiration for their own yarn stash. Feel free to browse through the additional patterns on the site for more projects that build on these fundamental skills and keep your hooks moving all year long.