Classic Granny Square: Free Beginner Crochet Pattern
These squares feel firm and satisfying to hold, with a structured weight that makes them reliable for heavy blankets or durable kitchen accessories. You will notice a crisp, clean texture where every double crochet cluster stands out clearly from the previous round. Beginners often find this project grounding because the repetitive motion builds muscle memory quickly, while experienced makers appreciate how these modules work up during brief moments of downtime. You will master the corner chain space and the specific turn that prevents your seams from twisting out of shape as the work grows larger under your hands.
Why This Project Is Worth Making
The Classic Crochet Granny Square is the fundamental building block of crochet design. This specific version uses a traditional three-double-crochet cluster technique, creating a dense, professional fabric that holds its shape well over time. Making these squares is an ideal way to practice consistent tension because the repeat is short and rhythmic. You can complete a single square in under twenty minutes, making it a portable project that fits perfectly into small gaps in your day. The finished square serves as a versatile module for blankets, bags, or garments depending on how you choose to join them.
I finally mastered the transition between rounds thanks to the clear instructions here. My squares are perfectly flat for the first time.
— Sarah, intermediate maker
Pattern Overview & Skill Level
- Skill Level: Beginner
- Approximate Time: 15–20 minutes per square
- Construction: Worked in rounds from the center outward
- Finished Dimensions: Approximately 5 inches by 5 inches using medium weight yarn
Materials & Supplies Needed
- Yarn: Worsted weight (#4), 100% acrylic or wool blend, approximately 15 yards per square.
- Hook Size: 5.0 mm (H-8) crochet hook.
- Notions: Tapestry needle for weaving in ends, scissors, and optional locking stitch markers to keep track of the corner spaces.
- Safe yarn substitutions: You may use DK weight (#3) yarn with a 4.0 mm hook for a smaller, more delicate square, or Bulky weight (#5) with a 6.0 mm hook for a larger, quicker square. Note that changing yarn weight will significantly alter the final dimensions.
Stitch Guide & Abbreviations (US Terms)
- ch: chain
- dc: double crochet
- sl st: slip stitch
- sp: space (the gap created by ch-1 or ch-2)
- st/sts: stitch/stitches
- cluster: a group of 3 dc worked into the same space
Step-by-Step Pattern Instructions
Center and Round 1
Start with a magic ring or by chaining 4 and slip stitching to the first chain to form a circle.
- Rnd 1: Ch 3 (counts as first dc), work 2 dc into the ring. Ch 2, *3 dc into ring, ch 2; repeat from * two more times. Join with a sl st to the top of the beginning ch 3. (12 sts, 4 ch-2 corner spaces)
Expanding the Square
- Rnd 2: Sl st into the next two dc and into the first corner sp. Ch 3, 2 dc in same sp, ch 2, 3 dc in same sp. *Ch 1, skip 3 sts, [3 dc, ch 2, 3 dc] in next corner sp; repeat from * two more times. Ch 1, join with a sl st to the top of the beginning ch 3. (24 sts, 4 ch-2 corners, 4 ch-1 side spaces)
- Rnd 3: Sl st to the first corner sp. Ch 3, 2 dc in same sp, ch 2, 3 dc in same sp. *Ch 1, 3 dc in next ch-1 side sp, ch 1, [3 dc, ch 2, 3 dc] in next corner sp; repeat from * two more times. Ch 1, 3 dc in last side sp, ch 1, join with a sl st to the top of the beginning ch 3. (36 sts, 4 ch-2 corners, 8 ch-1 side spaces)
- Rnd 4: Continue the pattern of placing [3 dc, ch 2, 3 dc] in every corner space and 3 dc in every side ch-1 space. Fasten off and weave in ends. (48 sts)
Care & Washing Instructions
- Hand wash in cool water using a mild detergent to preserve the structure of the clusters.
- Lay the square flat on a clean towel and reshape it to your desired dimensions before letting it air dry away from direct heat.
- Avoid using a tumble dryer, as heat can melt acrylic fibers or felt wool fibers, permanently altering the size of your work.
Pro Tips & Common Mistakes to Avoid
- Consistent Tension: If your square begins to ripple or wave, your tension is likely too loose. Try dropping down one hook size to tighten the stitches.
- Marking Rounds: Place a stitch marker in the ch-2 corner space of the current round. This makes it much easier to identify where to insert your hook when you reach the end of the round.
- Invisible Ends: When finishing, weave your yarn tail under the back loops of several stitches in the opposite direction of the yarn’s path. This prevents the ends from poking out during heavy use.
- Adjusting Size: You can add as many rounds as you like to increase the size of the square. Each additional round adds 12 stitches to the total count, requiring roughly 10 extra yards of yarn.
Frequently Asked Questions
Can I use different colors for each round?
Yes, you can fasten off at the end of every round and join a new color in any corner space. This is a popular way to use up small amounts of leftover yarn.
What do I do if my square is not perfectly square?
If the edges are bowing, you may need to increase the number of chains in your corners from 2 to 3. If the sides are pulling inward, your tension in the ch-1 side spaces might be too tight.
Is this pattern suitable for a total beginner?
This pattern is excellent for beginners because it uses only double crochet stitches and chain stitches. The repeat is easy to memorize after the first two rounds.
Can I sell the squares I make from this pattern?
You are welcome to sell finished items made from this pattern, but you must use your own photographs to represent your work and credit the original pattern design.
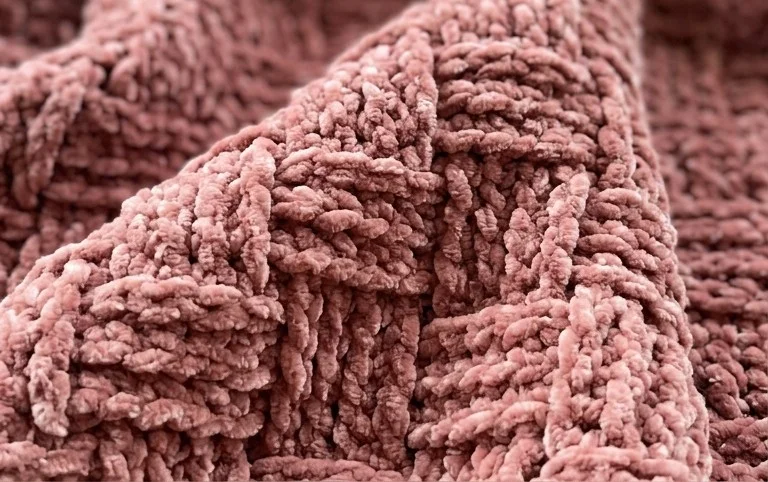
A pile of finished squares feels like a true achievement, especially when you line them up to see the colors interact. You might try using a variegated yarn for a surprising painterly effect or stick to high-contrast solids to make the geometric shapes pop against each other. Sharing a picture of your progress helps other makers find their own rhythm with this build. Please take a look at the other free patterns available on this site to find your next project after you finish your stash.