Easy Granny Square Crochet Blanket: Free Pattern & Guide
Soft wool against your fingers feels like a gentle weight during a quiet evening, making this simple square design a favorite for those who enjoy steady, repetitive work. This project creates a dense yet flexible fabric that forms the foundation for heirloom blankets, cozy couch throws, or even durable market bags. Beginners find confidence in the clear rhythm of the stitches, while experienced makers appreciate how quickly these pieces work up between busy hours. You will learn the classic double crochet cluster technique, which builds your confidence and helps you master consistent tension across every single side.
Why You’ll Love This Pattern
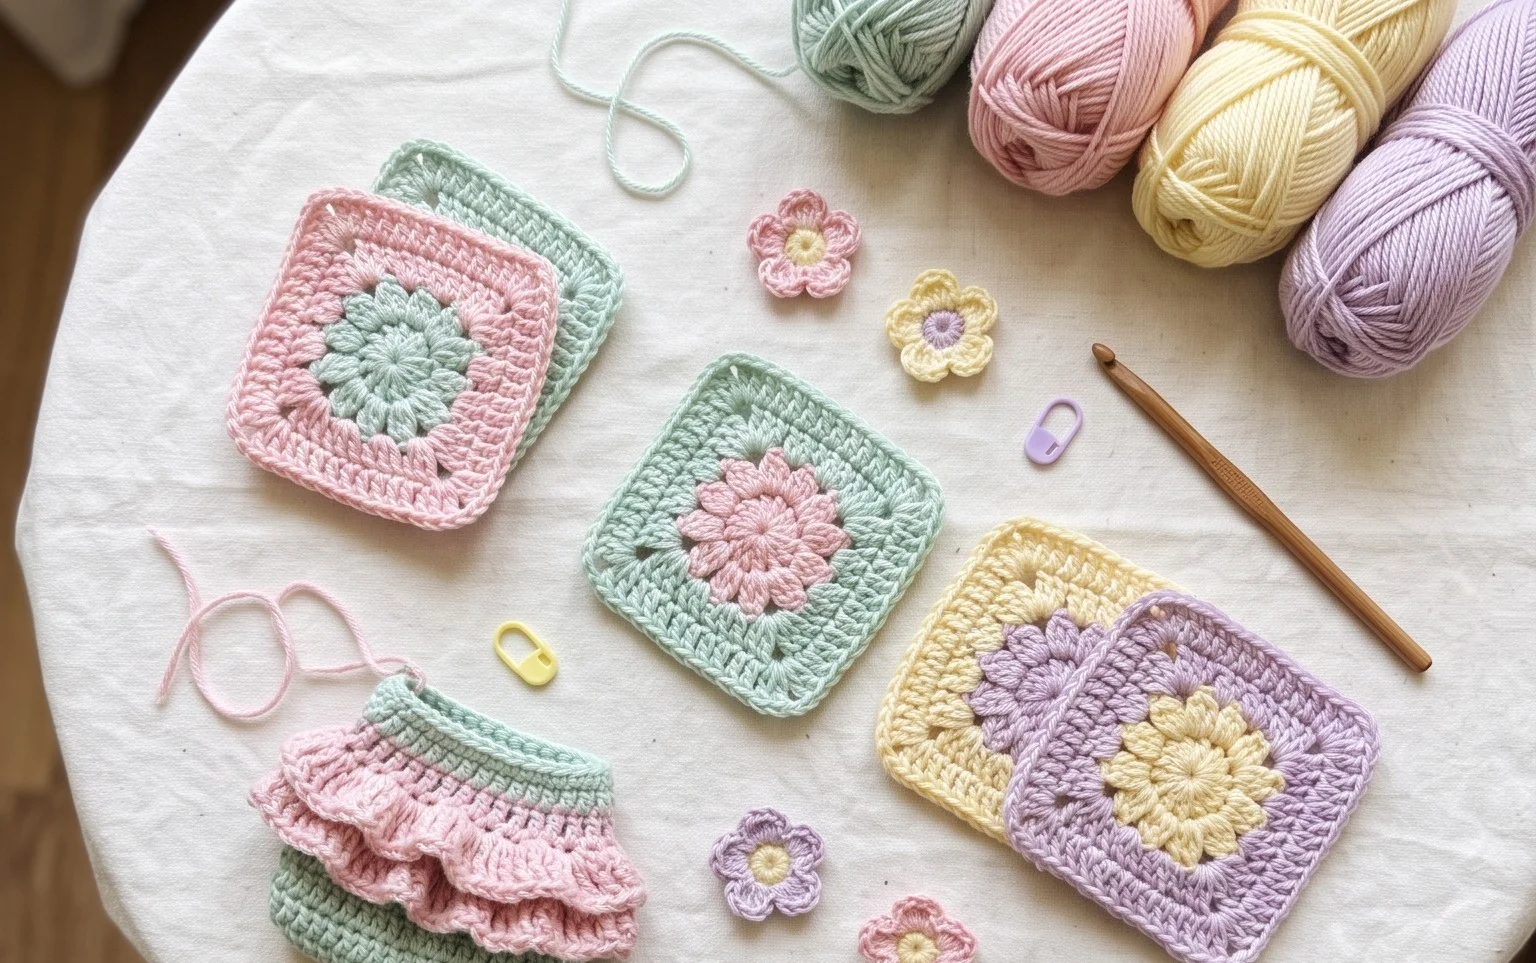
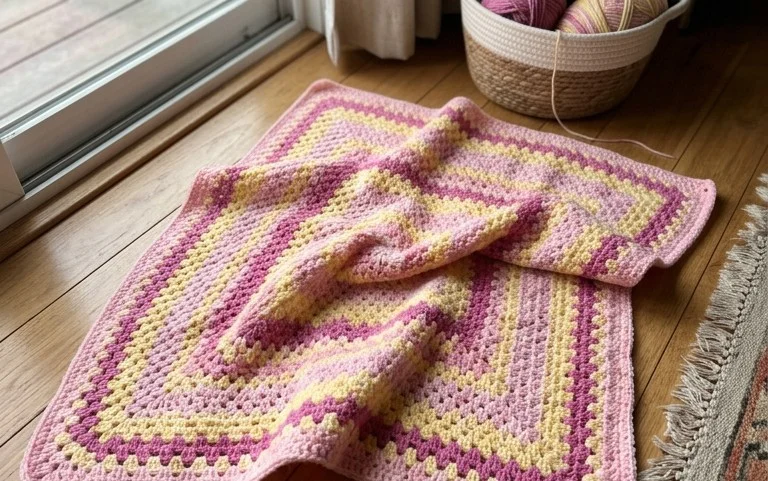
The Classic Crochet Granny Square is the quintessential project for building fundamental skills while creating a versatile building block for larger items. You work in joined rounds, which allows for frequent color changes if you desire to use up small bits of leftover yarn from previous projects. Because the pattern relies on repeating a simple cluster of double crochet stitches, it is easy to memorize and pick up even if you only have ten minutes of spare time. It provides a tactile, meditative rhythm that results in a uniform, geometric square suitable for blankets, pillows, or tote bags.
I managed to finish a whole stack of these squares over a weekend while watching movies. The instructions were very easy to follow and my tension improved significantly by the fifth square.
— Sarah, hobbyist crafter
Pattern Overview & Skill Level
- Skill Level: Beginner
- Approximate Time: 30 to 45 minutes per square
- Construction: Worked in rounds starting from a center ring, creating a flat square
- Finished Dimensions: Approximately 6 inches by 6 inches when using worsted weight yarn
Materials & Supplies Needed
- Yarn: Worsted weight (#4), 100% acrylic or wool blend, approximately 20 yards per square.
- Hook Size: 5.0 mm (US H-8).
- Notions: Tapestry needle for weaving in ends, scissors, and a stitch marker to track the start of rounds.
- Yarn Substitutions: You may use DK weight yarn for a smaller, more delicate square, though you will need to increase the number of rounds to reach the same finished size. Cotton yarn works well for dishcloths but will result in a slightly stiffer, less drape-heavy fabric than acrylic.
Stitch Guide & Abbreviations (US Terms)
- ch: chain
- st/sts: stitch/stitches
- sl st: slip stitch
- dc: double crochet
- dc-cluster: 3 dc stitches worked into the same space
- sp: space
- rnd: round
- MR: magic ring (an adjustable loop to begin your work)
Step-by-Step Pattern Instructions
Granny Square Body
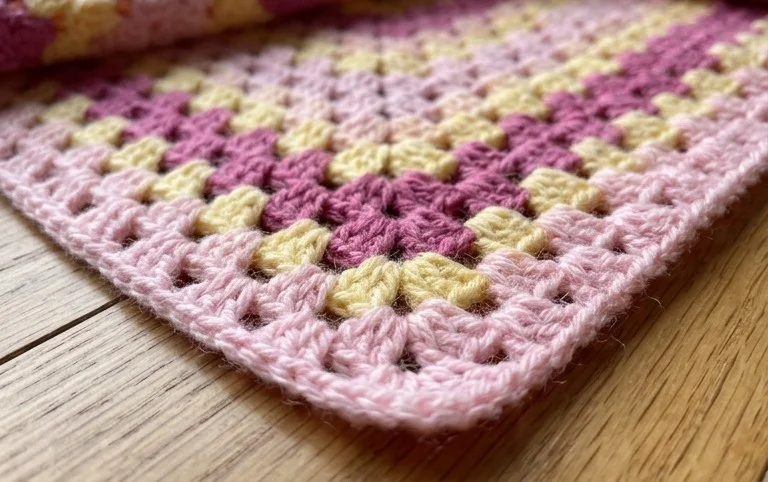
Rnd 1: Start with a MR. Ch 3 (counts as first dc here and throughout). Work 2 dc into the ring. Ch 2. Work 3 dc into the ring, ch 2. Repeat from * to * two more times. Join with a sl st to the top of the beginning ch 3. (12 sts, 4 ch-2 corner spaces)
Rnd 2: Sl st into the next dc and into the first corner ch-2 space. Ch 3, 2 dc, ch 2, 3 dc all in the same corner space. Ch 1, skip 3 dc, (3 dc, ch 2, 3 dc) in the next ch-2 corner space. Repeat from * to * two more times. Ch 1, join with a sl st to the top of the beginning ch 3. (24 sts, 4 corner spaces, 4 ch-1 spaces)
Rnd 3: Sl st into the next dc and into the next corner space. Ch 3, 2 dc, ch 2, 3 dc in the same corner space. Ch 1, 3 dc in the next ch-1 side space, ch 1, (3 dc, ch 2, 3 dc) in the next corner space. Repeat from * to * two more times. Ch 1, 3 dc in the last side space, ch 1, join with a sl st to the top of the beginning ch 3. (36 sts, 4 corner spaces, 8 ch-1 spaces)
Rnd 4: Continue in this pattern, working (3 dc, ch 2, 3 dc) in each corner and 3 dc in every side chain space, with a ch 1 between every cluster. Join each round with a sl st to the top of the beginning ch 3. (48 sts)
Finishing
Fasten off your yarn, leaving a 6-inch tail. Pull the tail through the final loop to secure it. Thread the tail onto your tapestry needle and weave it back and forth through the back of the stitches to ensure the square does not unravel during washing.
Care & Washing Instructions
- Machine wash your finished item on a gentle cycle in cool water (30°C or 86°F).
- Lay the item flat on a clean towel to air dry, reshaping it into a perfect square while damp.
- Do not iron or bleach, as high heat can melt synthetic fibers and compromise the structure of the stitches.
Pro Tips & Common Mistakes to Avoid
- Maintain consistent tension by holding the yarn taut but not tight; if your stitches feel cramped, move up to a 5.5 mm hook to relax the fabric.
- Place a stitch marker in the top of your beginning ch-3 at the start of every round so you do not lose track of where to join your slip stitch.
- Weave in your ends diagonally across the back of the dc clusters; this keeps the ends from pulling out over time and keeps the front of your work clean.
- To adjust the size, simply add more rounds using the same increase logic: always place your corner clusters in the corners and side clusters in the chain spaces. Note that larger squares will require significantly more yarn.
Frequently Asked Questions
Can I use a different weight of yarn for this pattern?
Yes, you can use any weight of yarn. Just remember that a thinner yarn will create a smaller square, and a thicker yarn will result in a larger, bulkier square.
Is this pattern suitable for someone who has never held a hook before?
This is a great first project. The stitches are basic, but you should practice creating a chain and a double crochet stitch a few times before starting the round sequence.
What is the best way to join multiple squares together?
You can use a whip stitch or a single crochet join. A single crochet join creates a visible, textured ridge, while a whip stitch is more subtle and lies flatter against the fabric.
Am I allowed to sell items made from this pattern?
You are welcome to sell finished items made from this pattern, but you must use your own photographs and write your own product description rather than copying this text directly.
Seeing your stack of finished squares grow into a warm, finished blanket brings such a deep sense of accomplishment. You might try alternating solid colors with a speckled yarn to give the finished piece a modern, textured look. Upload a photo of your completed creation to your favorite social media site to share your hard work with others. Visit the rest of our blog to find more free projects that help you use up those leftover yarn scraps waiting in your craft basket.