Easy Crochet Dishcloth Pattern: Free Step-by-Step Guide
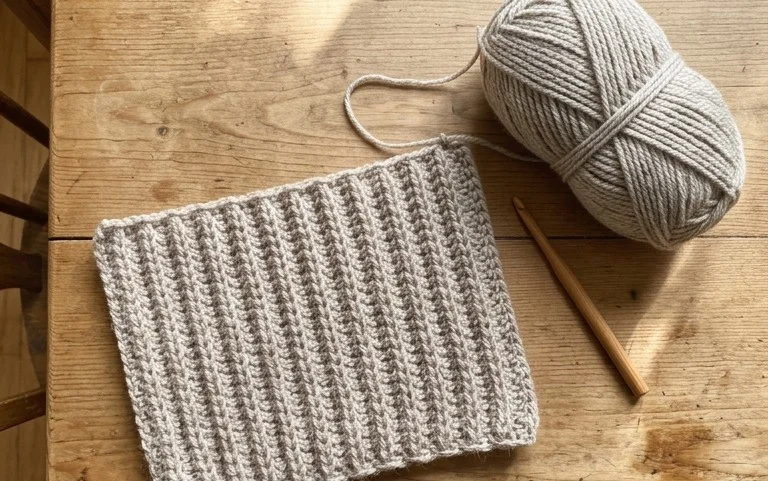
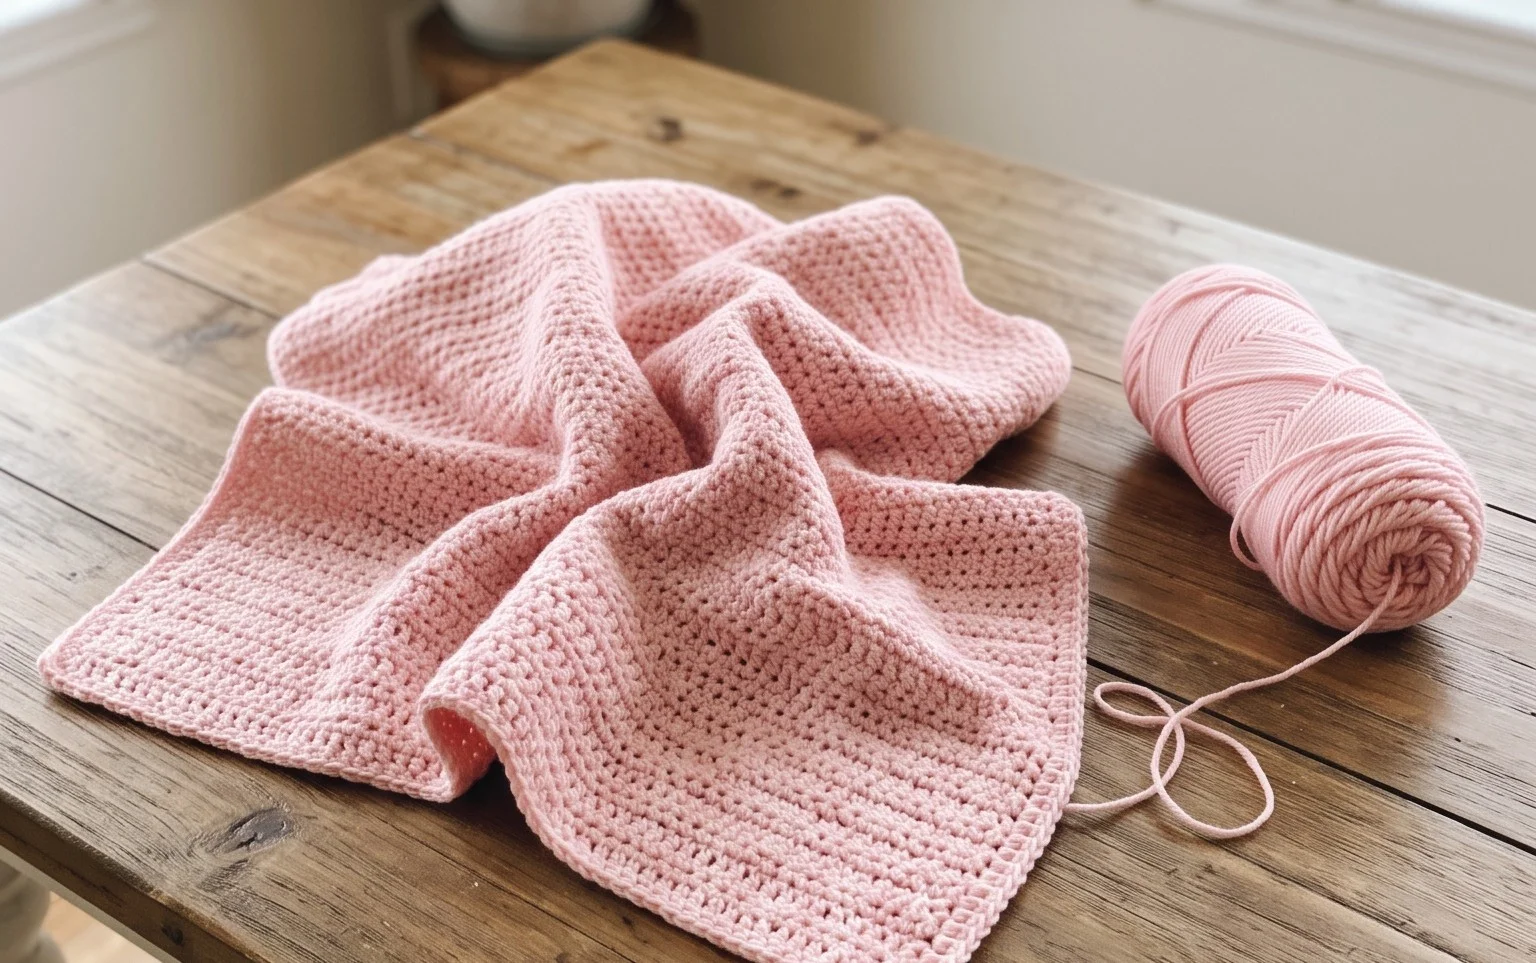
Warm sunlight streaming through the kitchen window highlights the dense, nubby texture of a handmade cotton dishcloth. This simple thermal stitch creates a fabric thick enough to handle stubborn soap scum while remaining soft on your hands during long cleaning sessions. Beginners appreciate the meditative pace of the repetitive rows, while experienced makers enjoy the clean, professional finish that lasts through countless hot water cycles. You will gain confidence working with basic stitches to build a dense, double-layered surface that puts scrap cotton yarn to good use. This project turns a quiet hour into a functional item for your home.
Why You’ll Love This Pattern
This classic crochet dishcloth relies on the textured grit of the thermal stitch, making it exceptionally effective for scrubbing surfaces. Because the fabric is worked in double thickness, it maintains its shape and durability even after repeated cycles in the washing machine. You will find that the rhythmic, meditative nature of the repetitive rows makes this an ideal project for winding down in the evening. It is also a fantastic way to utilize leftover cotton yarn, as you only need about 60 yards to complete one cloth.
I finally found a dishcloth pattern that does not stretch out or go limp after a week of use. The texture is perfect for getting stuck-on food off my pans.
— Sarah, home crafter
Pattern Overview & Skill Level
- Skill Level: Beginner
- Approximate Time: 1.5 to 2 hours
- Construction: Worked in flat rows using a repeating stitch pattern that creates a dense, double-layered fabric.
- Finished Dimensions: 8 inches by 8 inches.
Materials & Supplies Needed
- Yarn: Worsted weight #4, 100% cotton, approximately 60 yards. Using 100% cotton is important for heat resistance and absorbency.
- Hook Size: 5.0 mm / H-8.
- Notions: Tapestry needle for weaving in ends, scissors, and a measuring tape.
- Safe Yarn Substitutions: You may use a cotton-acrylic blend, though it will be slightly less absorbent than pure cotton. Avoid wool or synthetic acrylics, as they may melt or lack the scrubbing texture required for kitchen use.
Stitch Guide & Abbreviations (US Terms)
- ch = chain
- sc = single crochet
- st/sts = stitch/stitches
- BLO = back loop only
- sp = space
- Thermal Sc: Insert your hook into the back loop of the current stitch AND the unused loop from the row below, yarn over, pull up a loop, yarn over, and pull through both loops on your hook.
Step-by-Step Pattern Instructions
Foundation and Setup
Start by creating a foundation chain that is 30 stitches long.
- Row 1: Sc in the second ch from the hook and in each ch across. (29 sts). Turn.
- Row 2: Ch 1, sc in each st across. (29 sts). Turn.
Working the Thermal Body
- Row 3: Ch 1, work one thermal sc into the back loop of the current stitch and the corresponding stitch from Row 1. Repeat across. (29 sts). Turn.
- Row 4 through Row 30: Ch 1, work one thermal sc into the back loop of the current stitch and the corresponding loop from the row immediately below. Repeat across. (29 sts). Turn.
Finishing
Once you reach the desired length, fasten off your yarn, leaving a 6-inch tail. Use your tapestry needle to weave the yarn tail securely into the back of the fabric to prevent unraveling during washing. Clip any excess yarn close to the surface.
Care & Washing Instructions
- Machine wash your dishcloth in warm water with like colors on a gentle cycle.
- Avoid using fabric softener, as it leaves a residue that reduces the natural absorbency of the cotton fiber.
- Lay the cloth flat on a clean towel to air dry, or tumble dry on low heat to maintain the structure of the thermal stitches.
Pro Tips & Common Mistakes to Avoid
- Maintain consistent tension. If your stitches are too tight, the thermal stitch becomes difficult to work into; if they are too loose, the cloth may lose its structural integrity.
- Always place a stitch marker in the first stitch of every row to ensure you are not accidentally dropping stitches at the edges, which would lead to a skewed square.
- Weave your ends in by threading the tail through the base of several stitches in the opposite direction of your crochet work, then back again, to create an invisible and secure anchor.
- To adjust the size, add or subtract chains in multiples of two. Note that increasing the width will require more yarn to maintain the height of the square.
Frequently Asked Questions
Can I use a different yarn weight for this pattern?
Yes, but it will significantly change the size and density of the cloth. Using a thinner sport weight yarn will result in a smaller, thinner cloth, while a bulky weight yarn will create a very thick, heavy pad.
Why is my dishcloth curling at the edges?
Curling usually happens if your foundation chain is too tight or your tension is inconsistent. Ensure you keep your chains loose or use a hook one size larger for your foundation row only.
Is this pattern suitable for someone who has never crocheted before?
Yes, this is an excellent starter project. You only need to know how to chain and perform a single crochet, and the thermal technique is a simple repetitive movement.
May I sell the finished items I make from this pattern?
You are welcome to sell the physical items you create as long as you provide credit to this design. Please do not redistribute or sell the pattern document itself.
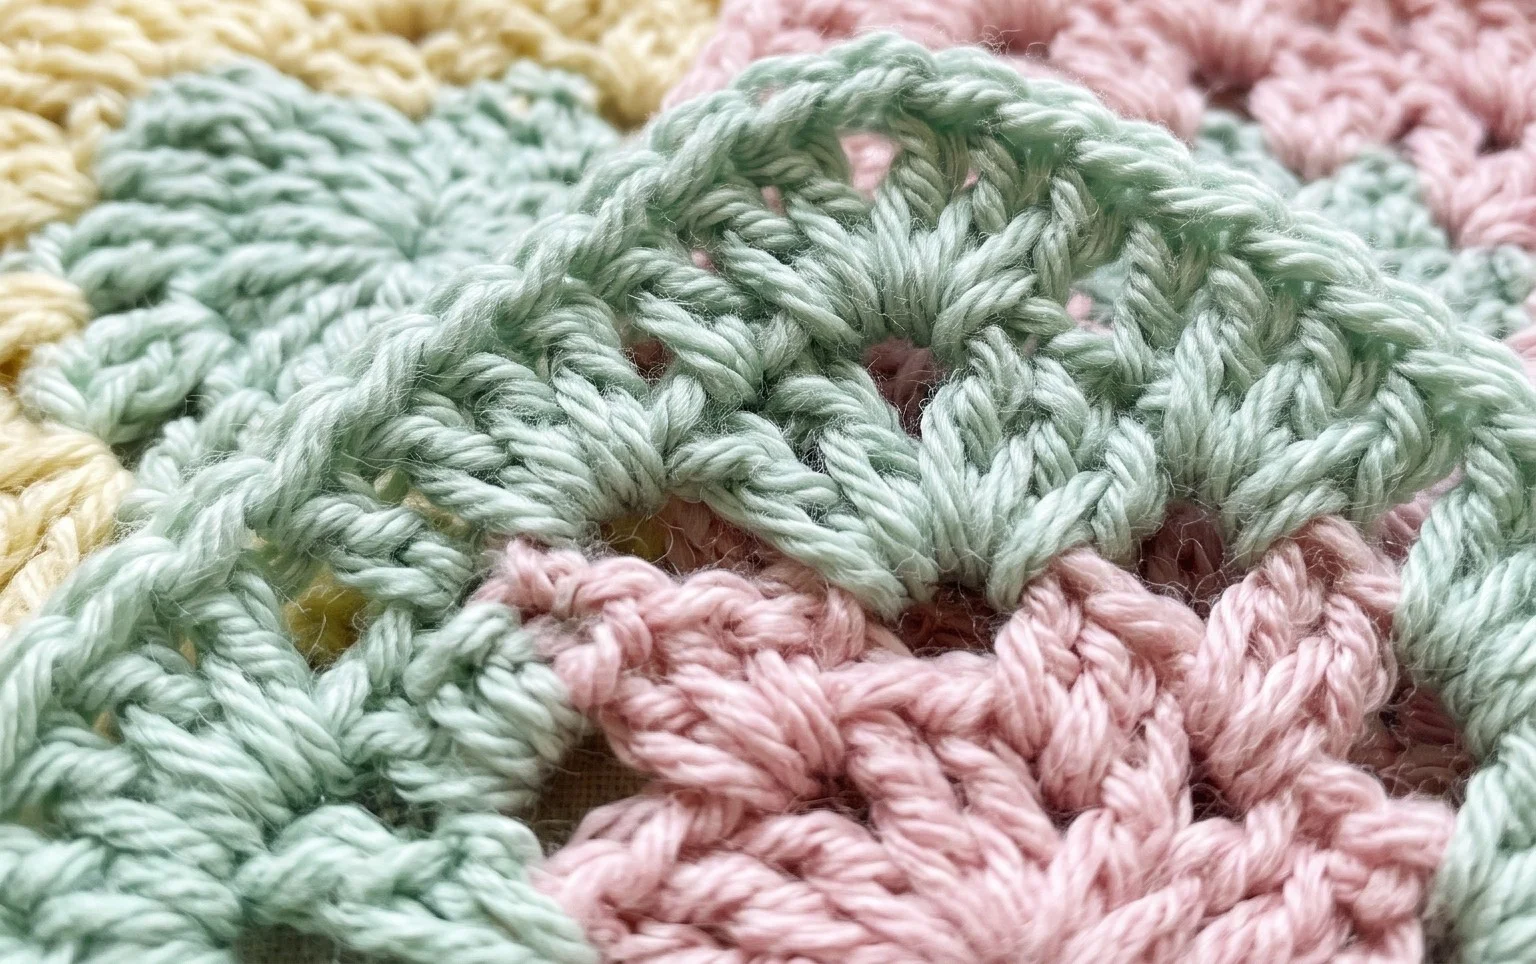
A finished dishcloth feels substantial in your palm, holding just enough water to wipe down counters effectively. You can easily adjust the size by chaining more stitches at the start or adding extra rows if you prefer a larger scrubbing surface for heavy pots. Changing the yarn color to a bright sage or sunny yellow adds a fresh touch to your kitchen decor for the warmer months ahead. Please post a photo of your finished work so others can see your color choices. Browse the rest of the blog for more patterns to build your collection.